Tips and “tricks” (like what I did there?) for documenting Halloween
/Around this time last year, I was receiving countless messages from friends begging for some quick and simple pointers for photographing Halloween. I pulled together this blog post using images from several years back. Writing this last year just before trick-or-treat time really made me bummed out that I didn’t pull my camera out for Halloween 2016, but it was just the motivation I needed to make sure that I documented our 2017 quest for candy.
I received such good feedback on that post I shared last year, that I decided to write another for this year. So, I give you “Tips for photographing your Halloween like a pro (take two).” If you are shooting in Manual mode (which I highly recommend), pay special attention to the image captions — because that’s where I’m going to share my reasoning for selecting the settings I chose.
OK — so first. The most important tip (that is a repeater from last year) but I cannot stress this enough. The light, y’all. Pay attention to the light. Plan to take your pictures when the natural light is soft and pretty. There is this magical hour photographers refer to as “golden hour” and it begins the hour before sunset. If you’re local to Oviedo, the sun is going to set at 6:40 p.m. this year (thank you, Google) so I plan to head out around 5:45 and spend the first hour or so focusing on getting some adorable pictures.
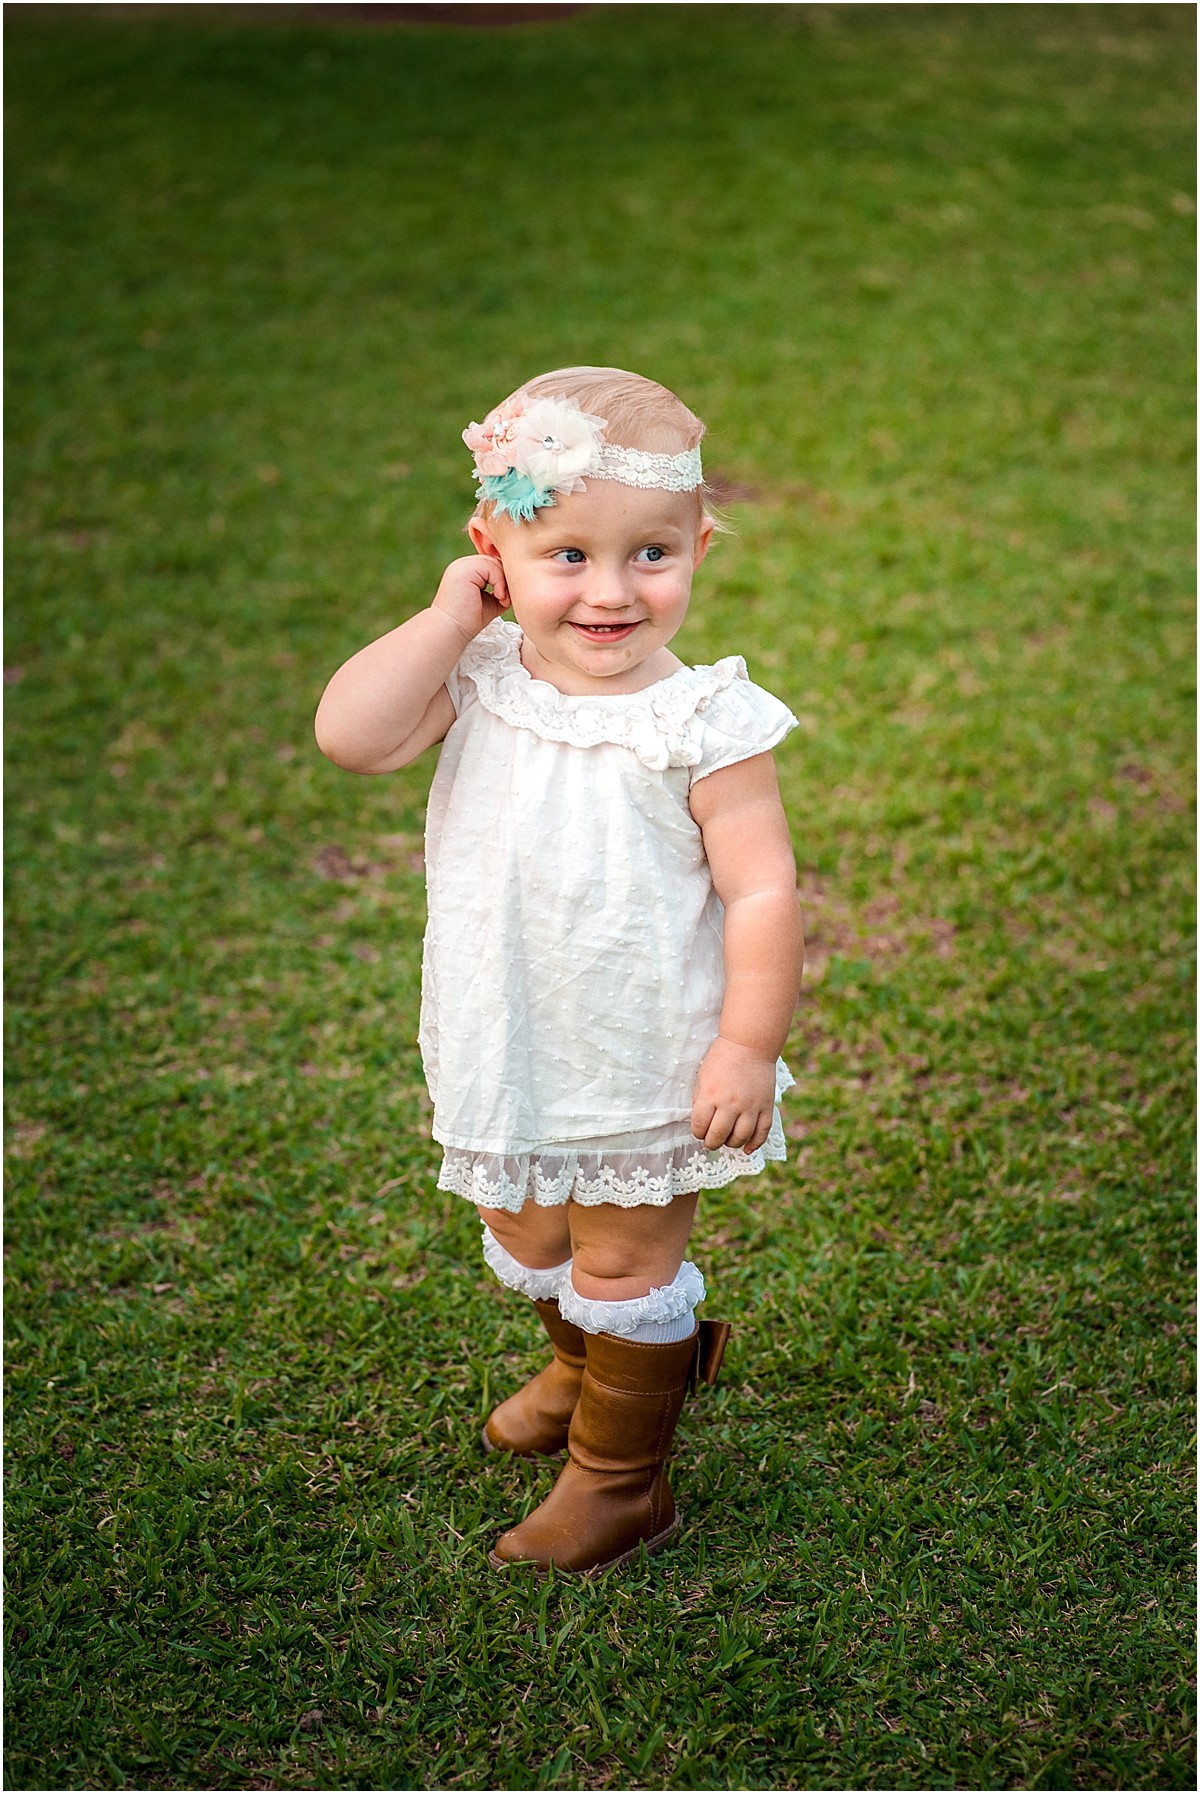
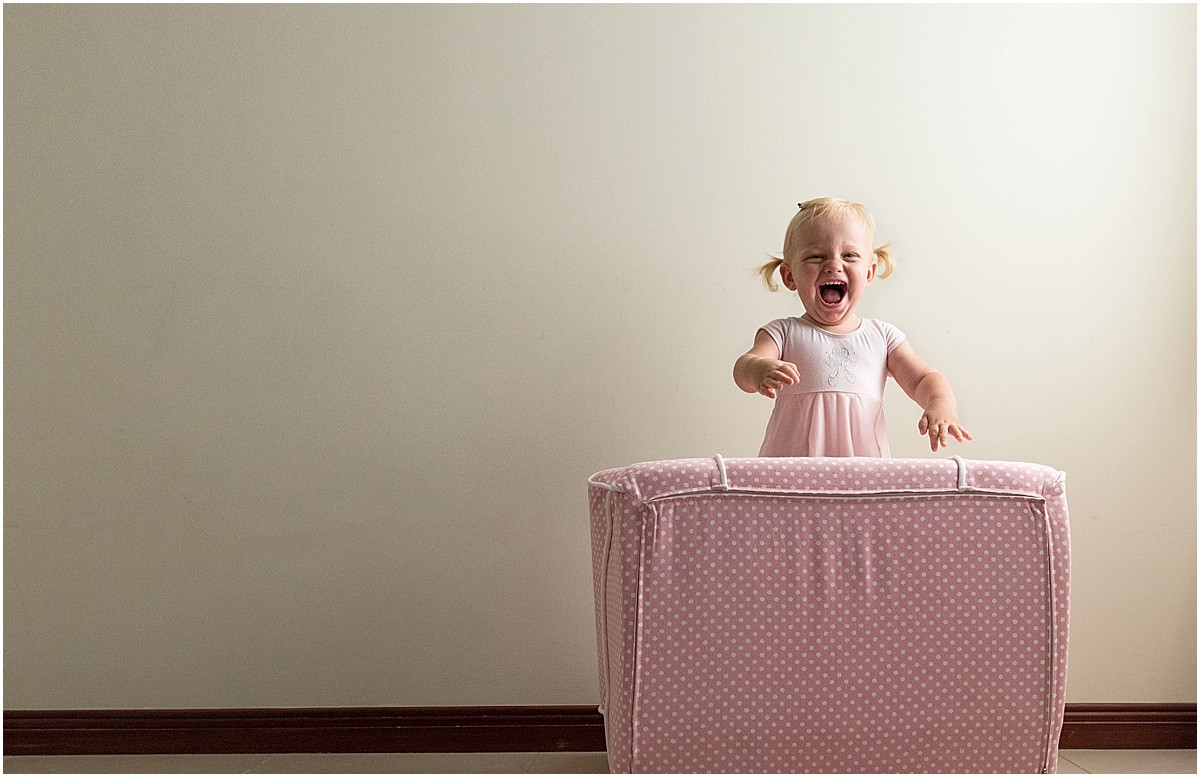
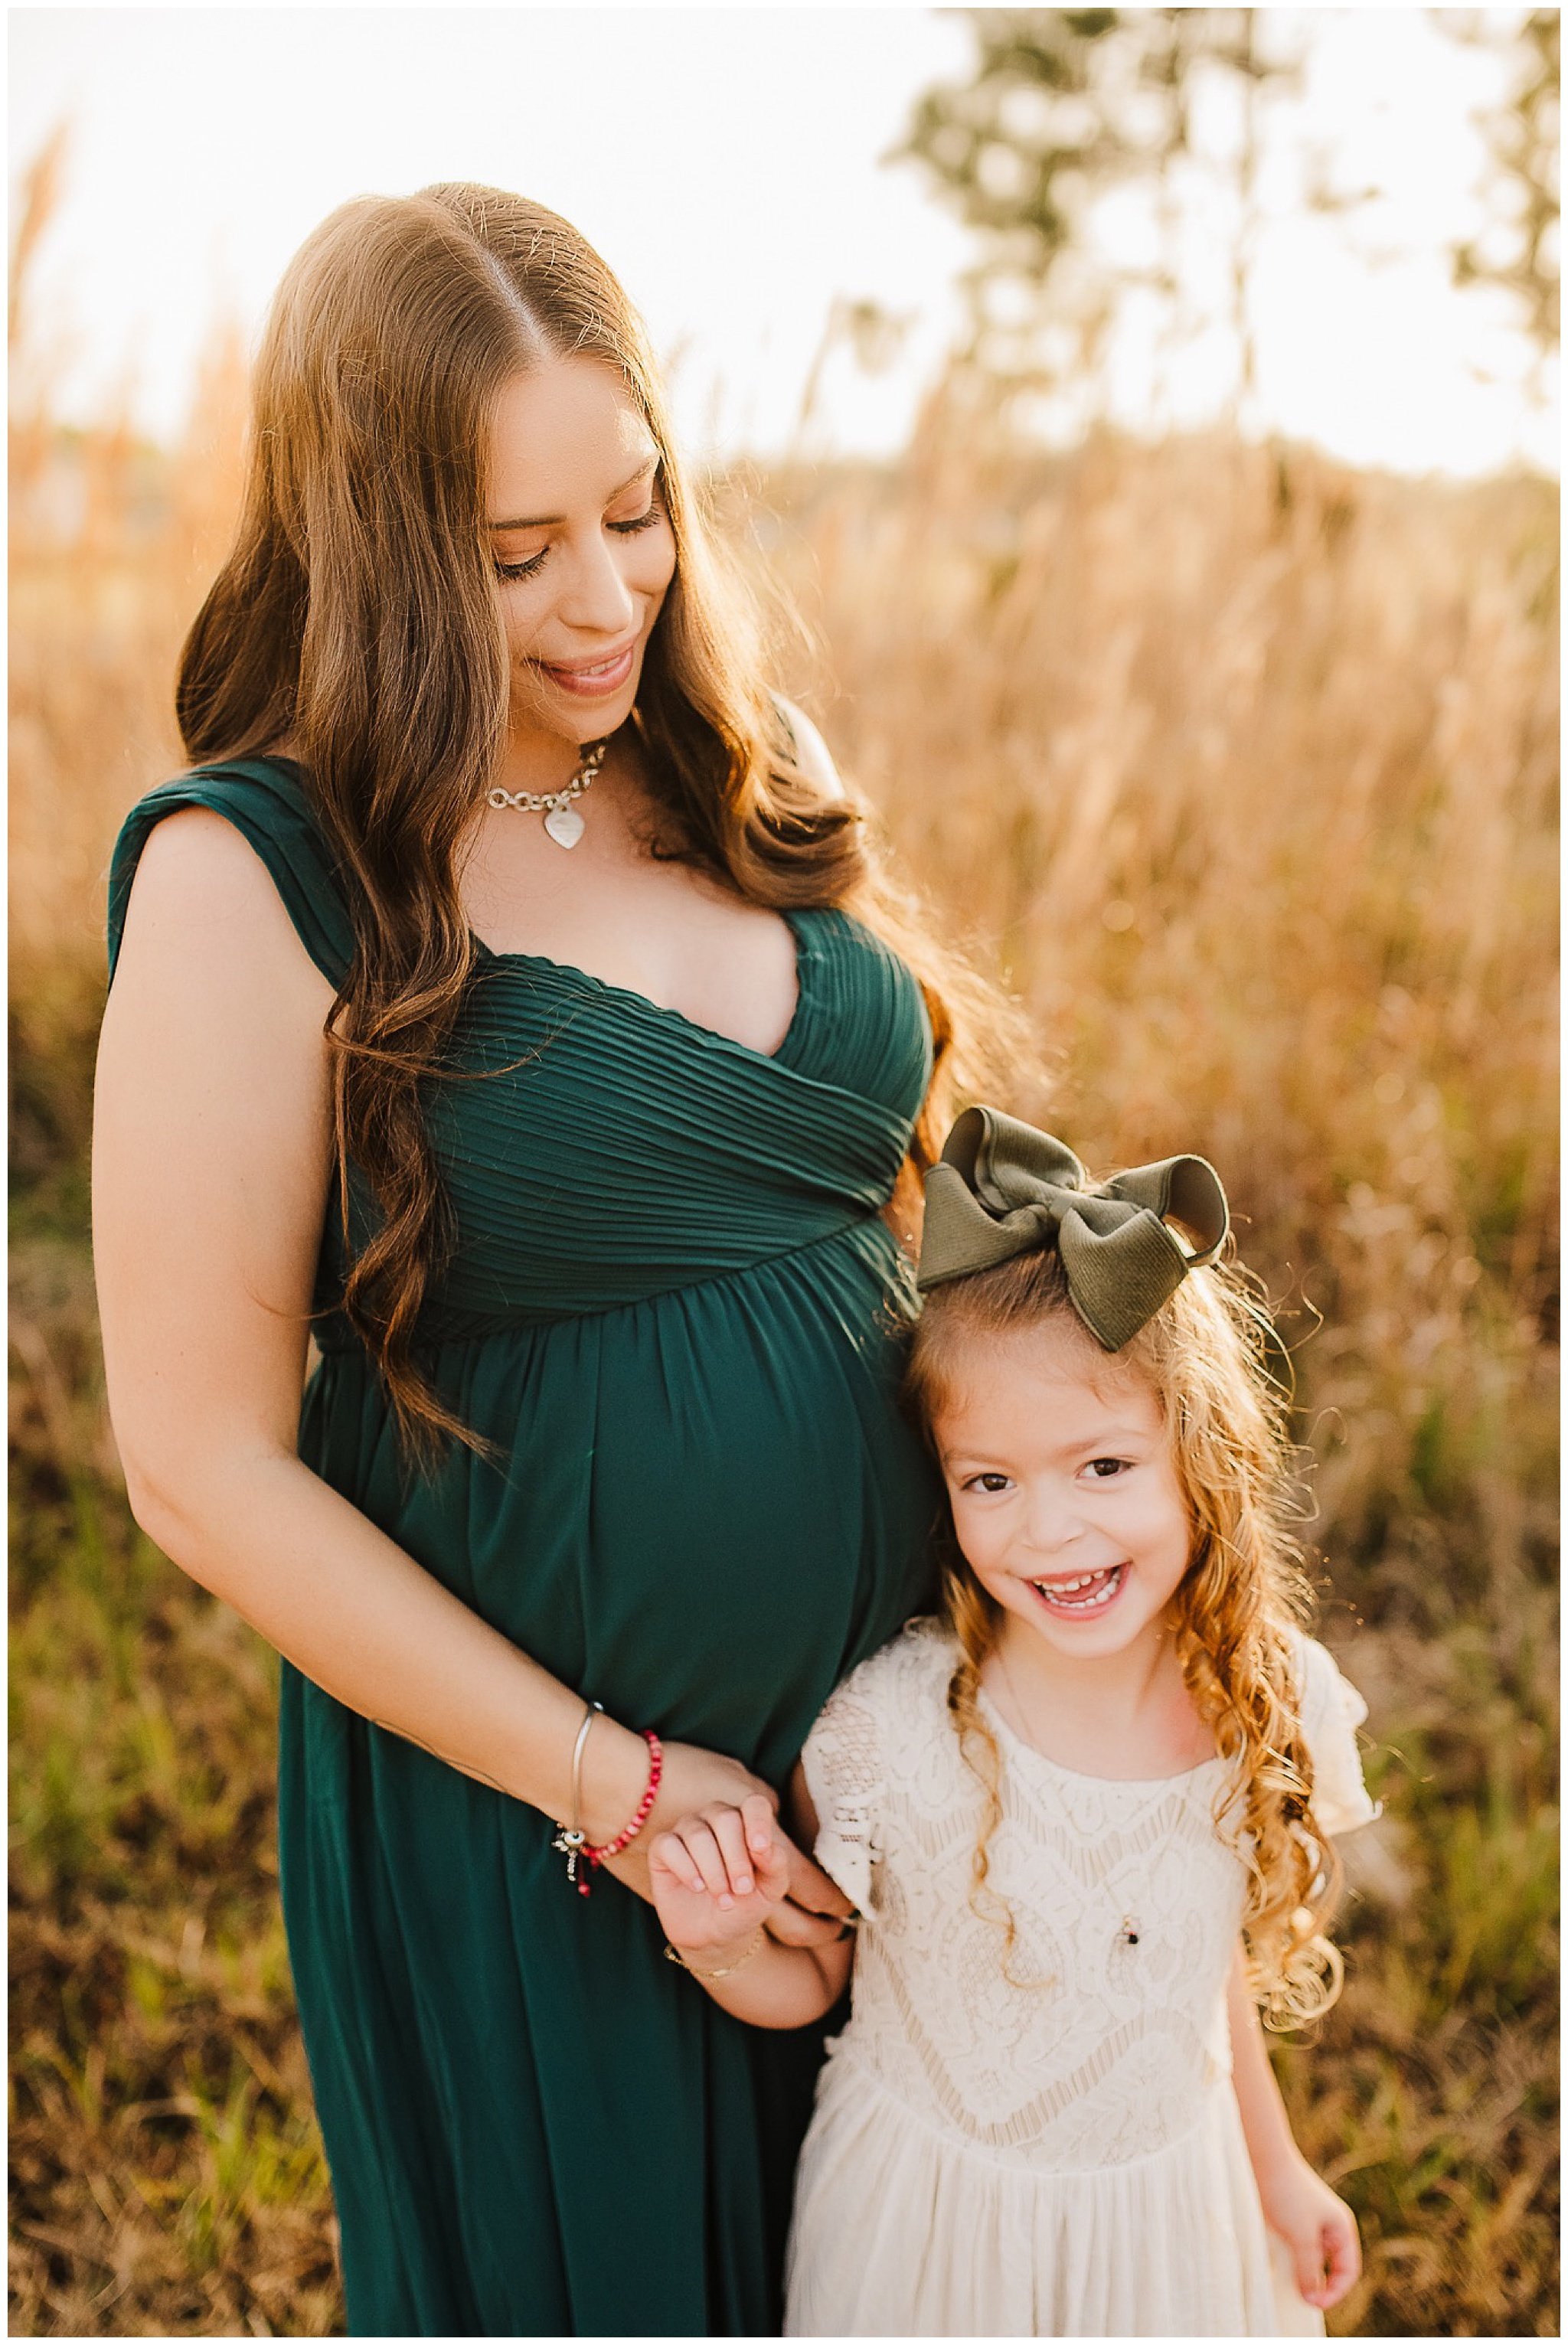
I’ll start with some traditional portraits (because we all know once the kids start running loose to collect all the candy stopping for a portrait is a long-shot).

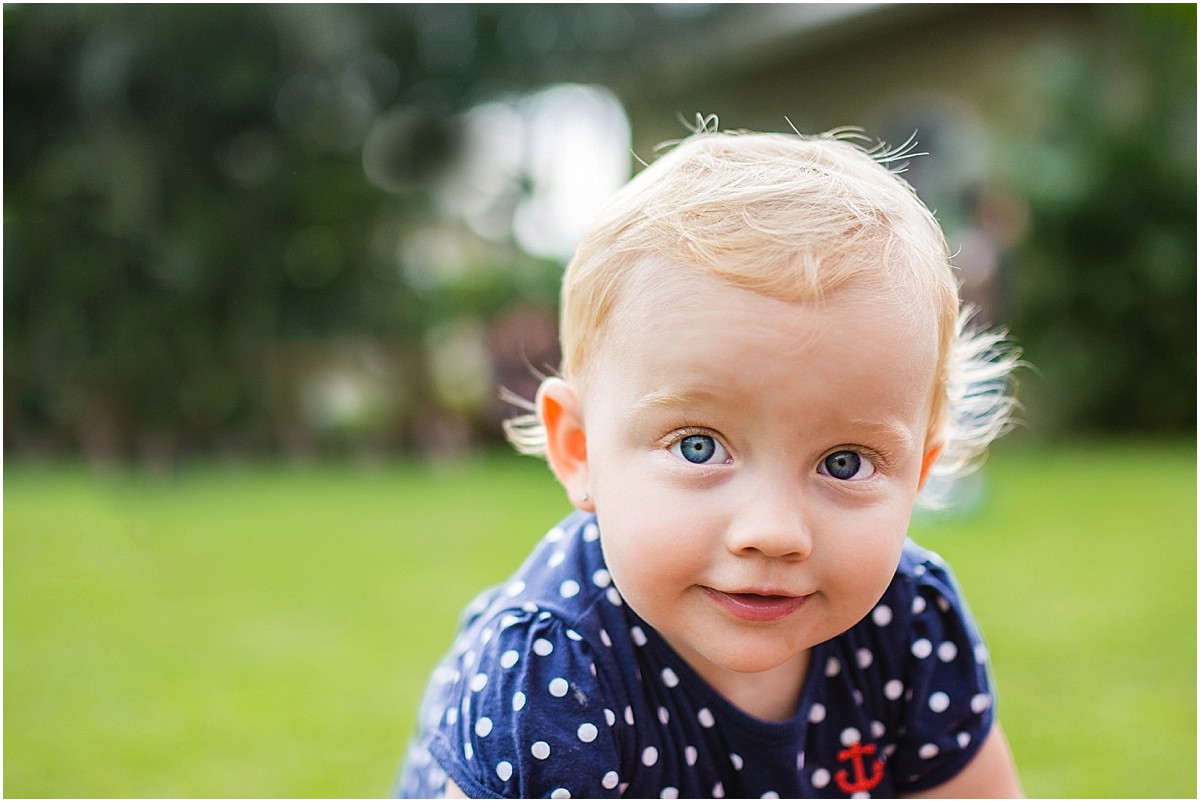
Camera Settings: ISO 400, f/2.8, SS 1/1,000. I generally start shooting at ISO 400 outdoors during golden hour. I could have certainly gone lower, but I like to have some wiggle room with my shutter speed since I’m photographing kids, and my camera handles noise very well so I know 400 is a good starting point for me.
My aperture selection of 2.8 here was intentional because I wanted to blur out my background a bit and really have the focus on madison. I knew since i was up close, I didn’t want to shoot too wide open (my lens here goes to 1.4) because if she or I moved a bit, I might have missed focus on her beautiful eyes.
My selection of 2.8 was just a safe aperture where I knew I was likely going to nail focus and still achieve some blur in the background. I selected my ISO and aperture first, and The shutter speed here is just where I needed to put it to expose this image properly.
also i’m not yelling at you. Photo captions only show up in all caps. Ugh. Squarespace…
Once I get those out of the way with, we begin our trick-or-treating. From this point on, I’ll transition to the “fly-on-the-wall” approach and just let the kids enjoy running door-to-door. I don’t ask the kids to smile for the camera anymore but I might guide them with some basic prompts that will help my ability to tell stories through my lens.

Camera settings: ISO 1,250, f/2.2, SS 1/250.
You can tell, compared to the shot above, that my ISO changed significantly. That’s because it was getting darker. Since I was losing light, I had to crank up my ISO. I’ve you’ve gone through my mentoring classes you know I had two other choices — open up my aperture or lower my shutter speed — but I chose to raise my ISO because I didn’t want to risk ending up with an out-of-focus image or an image with motion blur.
So, I set my shutter speed here to 1/250 first. I knew i wanted it over 1/200 since madison was moving. Once I got my shutter speed as low as I would allow it, I adjusted my aperture a little to let more light in — but that wasn’t enough. So, I cranked my ISO as high as I needed to until I ended up with a properly exposed image.
Some questions I might ask are:
Show me the candy you just got at that house! (Here, I would take a picture of just the candy in their hands.)
Can you hold your sister’s hand so she doesn’t get scared? (I would take a picture of the girls holding hands walking down the sidewalk or toward a front door.)
I think that house might almost be out of candy! Run toward the door! (Here, I would aim to capture the motion of running.)
Do you see any Snickers in that bowl of candy? (This makes their little hands pause a bit and might possibly give me the opportunity to take a picture of hands in a bucket of candy.)
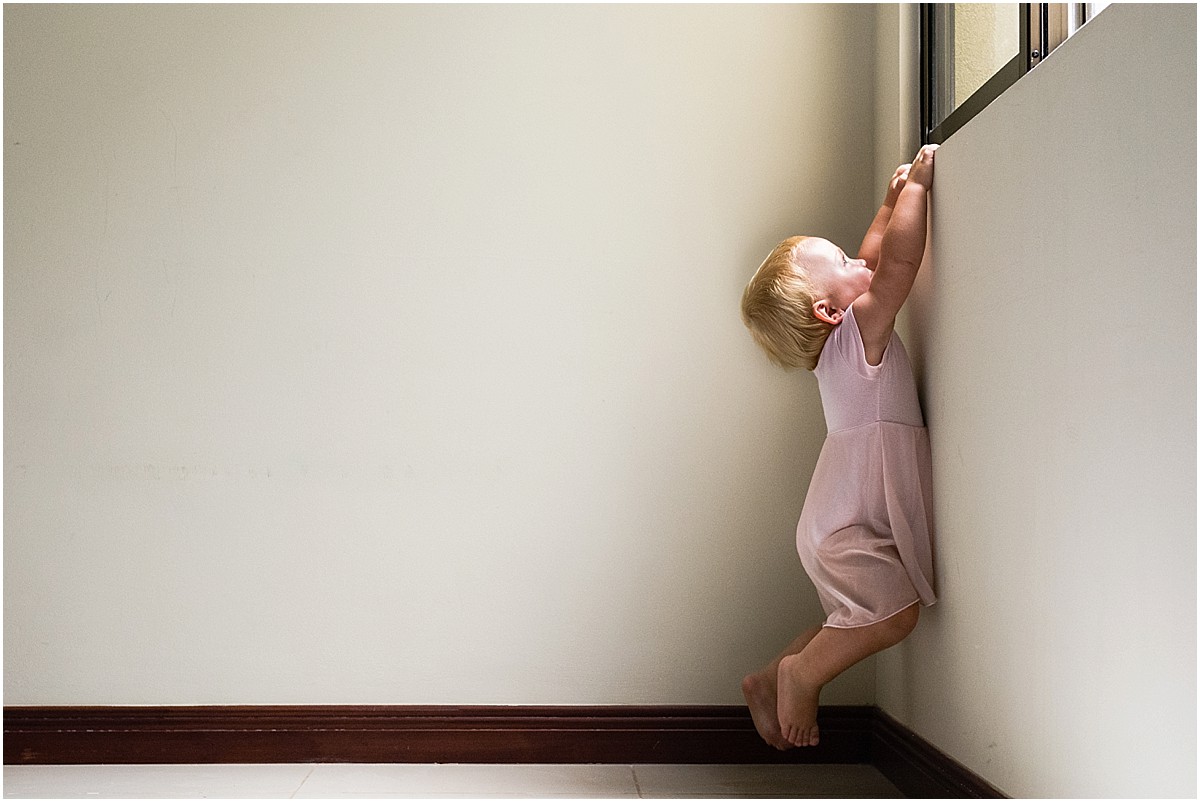
In the image below, I let Maddie walk toward the door, but I stayed behind to capture the scene. I just love how I got a lucky moment of no other children in the frame. I tend to over-shoot and take a lot of pictures of the same scene. I like having many options before selecting “the one.” And, the reason why I selected this one is because I love how she’s in the final third of the frame, and how she is between the two columns of bricks. I also loved how she was holding her dress up, like the princess she is.

Camera settings: ISO 1,250,F/2.2, sS 1/250
Here, my settings are exactly the same as the above shot — and that’s because this was taken minutes after the other. The light didn’t change much, and I was already prepared for movement with my 1/250 shutter speed — so I left my camera as is and kept on clicking.
This was un-prompted, but the kids were so excited to go door-to-door that they were literally running from house-to-house. This was a memory I didn’t want to forget, so of course I took a picture.

Camera settings: ISO 2,000, F/2.0, SS/ 1/400
What changed here? Now, she is running. And she’s running fast. So, I need a higher shutter speed to freeze the movement. Because I cranked up my shutter speed (blocked light), I also had to crank up my ISO to let some light back in.
With documentary photography, my personal opinion is that there is a lot of waiting for the “right” moment. I took several pictures last year of the kids at various doors, but this shot was the one I had been going for. Where the entire group was huddled together at the same door, waiting for someone to open it and greet them with candy. If you’re patient, the frame-worthy moments will happen. You just need to wait for them, and be ready!

Camera settings: ISO 3,200, F/2.2, SS 1/400
And, it’s getting darker. so my iso is going up. looking back on this, I could have lowered my shutter speed here — because they’re pretty much standing still at the door and then that would have allowed me to lower my ISO — but I know my camera handles high ISO well so I didn’t bother.
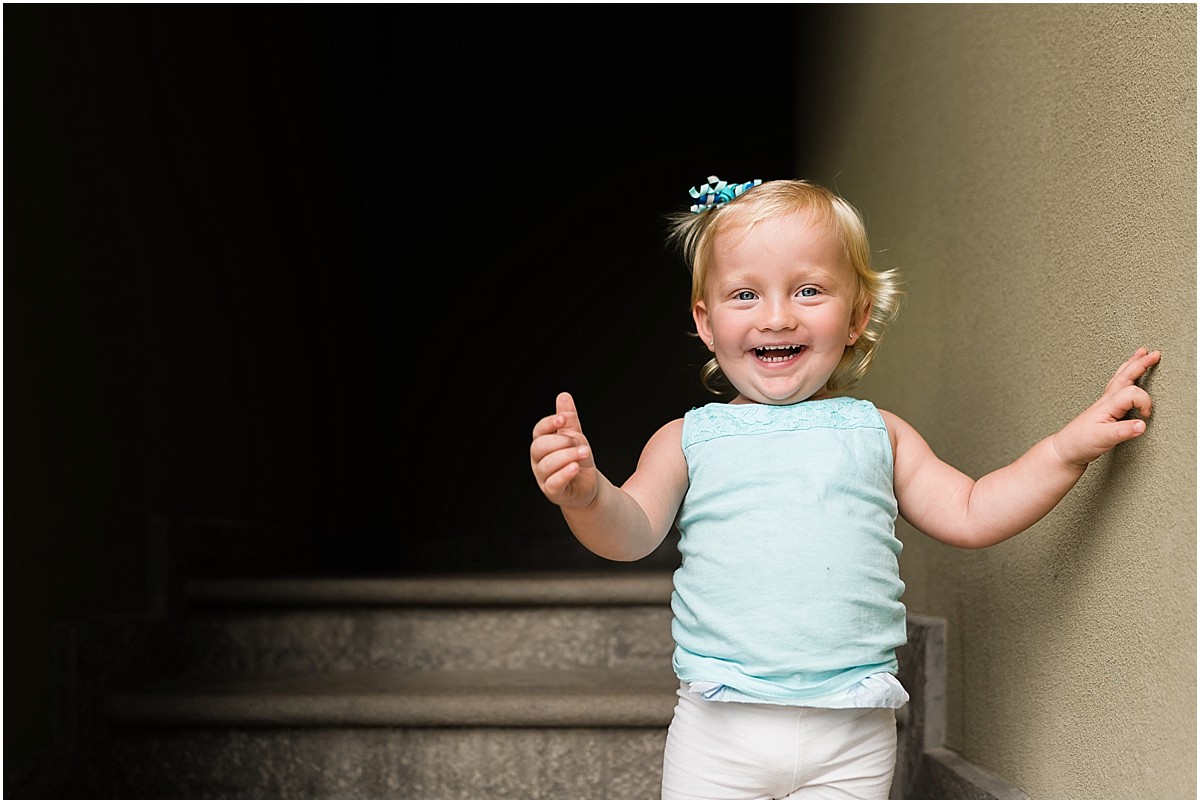
I believe this was shot using one of the prompts above. I probably asked Madison to see if they had any Snickers for mommy.

Camera settings: ISO 3,200, F/2.0, SS 1/125
Yikes, it is getting darker. so here, I chose to lower my shutter speed instead of raising my ISO more. As you can see, I’m very low at 1/125, and this is usually a signal to me that there isn’t enough light left and I’m minutes from putting my camera away for the night.
This is one of my favorite shots from 2017. The light wasn’t ideal (because, it was almost gone) but I just LOVED that this home had a smoke machine going and I knew it would make for some awesome spooky pictures. Sometimes, you just need to take the shot even if you don’t know how it will come out. You may surprise yourself.

Camera settings: ISO 6,400, F/2.0, SS 1/125
But, when I saw this set up, I couldn’t put the camera down yet. I don’t dare lower my shutter speed below 1/125, so up the ISO goes.
Don’t forget to take pictures of the details, too! On Halloween, you’re bound to find cool decorations with spooky effects. I was loving this neighbor’s set up, and the way the smoke photographed.

Camera settings: ISO 6,400, F/ 2.0, SS 1/125
And this was the final shot of the evening. Don’t forget the details!
Once it gets dark, I pretty much put the camera away and just enjoy the moments. I think it’s super important to find balance between documenting those special occasions but also actually being present as well.
I hope this was helpful. For more tips, check out last year’s post here.